How to install Ring flood lights? Turn off the circuit breaker, confirm the power is off, install the required weatherproof junction box and mounting bracket, connect ground, neutral, and hot wires correctly, secure the fixture, restore power, and complete setup in the Ring app. Always follow the model-specific instructions and local electrical codes.
Ring floodlight products are not simply outdoor lamps that screw into an existing socket. Hardwired models involve a junction box, electrical connections, grounding, weather protection, and—on camera-equipped versions—app configuration.
That distinction matters on an installation site. A wall may look suitable, yet an old junction box can be corroded, recessed, loose, or unsuitable for the new fixture. Ring’s current installation documentation specifies a 4-inch round UL-listed weatherproof electrical box for several Floodlight Cam models.
Check the Ring Floodlight Model Before Installation
The first step is not drilling holes. Identify the exact model.
Ring has different installation procedures for Floodlight Cam, Floodlight Cam Wired Plus, Floodlight Cam Wired Pro, and newer generations. Some versions support hardwired installation, while separate plug-in mounting options exist for certain camera models.
Before beginning, check:
Item
What to verify
Power supply
Match the model’s specified voltage
Junction box
Correct type, size, and weather rating
Mounting surface
Wall or eave as permitted by the model
Grounding
A reliable earth/ground connection is available
Wiring
Hot, neutral, and ground can be correctly identified
Controls
Check whether dimmers/timers are prohibited
Weather sealing
Gasket and exterior seal are suitable
App
Ring app and device setup requirements
For example, Ring’s current Floodlight Cam Wired Plus and Pro instructions specify a 100–240 VAC, 50/60 Hz supply and state that these fixtures should not be connected to a dimmer switch or timer. Always use the specifications for the exact model being installed.
Turn Off Power Before Touching the Wiring
1. Shut Off the Circuit Breaker
Switch off the breaker supplying the existing led floodlight.
Do not treat the wall switch as sufficient isolation. Ring explicitly instructs installers to disconnect power at the circuit breaker or fuse box before installation because the wiring presents an electrical-shock hazard.
Verify that the circuit is actually de-energized with an appropriate tester before disconnecting the existing fixture.
If you cannot confidently identify the correct circuit, stop there. Ring itself recommends professional installation when the installer is unsure or uncomfortable working with electrical wiring.
2. Remove the Existing Flood Light
With power isolated, remove the old fixture from its junction box and disconnect the conductors.
Inspect the box while it is exposed. Look for:
Water ingress
Corrosion
Loose mounting points
Damaged insulation
Missing grounding
Deteriorated connectors
An unsuitable or damaged weatherproof box
A replacement fixture should not be used to hide a defective electrical installation.
Install the Mounting Bracket and Fixture
3. Attach the Mounting Bracket
Use the mounting hardware specified for the exact Ring model and junction box.
Ring’s instructions show the mounting bracket being secured to the junction box before the fixture is attached. Some models use different screw sets depending on whether the junction box is standard, recessed, or older.
Keep the bracket level. On an eave installation, orientation may differ from a vertical wall installation, so follow the model’s mounting diagram rather than assuming the same orientation works everywhere.
4. Connect the Wires
Ring’s hardwired installation instructions identify the basic connections as:
Green/ground → ground
White → neutral
Black → hot
Connections should remain de-energized while wiring. Ring also instructs installers to gently tug connected wires to check that the connections are secure.
If the conductors coming from the junction box cannot be confidently identified, do not guess. Ring specifically advises consulting a licensed electrician in that situation.
5. Secure and Weather-Seal the Floodlight
Once wiring is complete, carefully tuck the conductors into the junction box and secure the floodlight to the mounting plate.
Weather sealing deserves attention here. Ring’s installation instructions for several Floodlight Cam models specify using weatherproof silicone caulk or sealant around the fixture where necessary to help prevent water entering the junction-box area.
Do not block drainage features or improvise a seal that conflicts with the manufacturer’s installation method.
Restore Power and Complete the App Setup
6. Restore Power at the Breaker
After the fixture is mechanically secured and all wiring is enclosed, restore power at the breaker.
Ring’s installation instructions state that power can be restored after the fixture has been mounted and wiring completed. The device can then be added through the Ring app by following the model-specific setup process.
Check both the light and camera functions. Test the viewing angle before leaving the installation area; moving the camera after final sealing or mounting can turn a five-minute adjustment into another service visit.
Common Ring Flood Light Installation Mistakes
Avoid these problems:
Installing without a suitable weatherproof junction box
Turning off only the wall switch
Guessing which wire is hot or neutral
Leaving the ground connection incomplete
Using an incompatible dimmer or timer
Mounting the fixture before checking its orientation
Leaving gaps around the junction-box interface
Restoring power before the fixture is securely mounted
Ring’s current documentation repeatedly emphasizes electrical safety, proper grounding, suitable electrical boxes, and compliance with local codes.
FAQ About Installing Ring Flood Lights
Can I install a Ring floodlight myself?
Some homeowners may be able to perform the mechanical work, but hardwired models involve mains electricity. If you are not experienced with electrical wiring, Ring recommends using a qualified electrician. Local law may also require professional installation.
Does a Ring Floodlight Cam need a junction box?
Yes, hardwired models require an appropriate electrical box. Several current Ring Floodlight Cam models specify a 4-inch round UL-listed weatherproof electrical box.
What wires connect to a Ring floodlight?
Typical hardwired Ring installations connect ground to ground, white to neutral, and black to hot. Wire identification should never be based on assumption when the existing installation is unclear.
Can I install a Ring floodlight on an eave?
Certain Ring Floodlight Cam models support eave mounting, but the fixture and camera orientation differ from wall mounting. Follow the instructions for the exact model.
Can I connect a Ring floodlight to a dimmer?
Some hardwired Ring Floodlight Cam models specifically state not to connect the fixture to a dimmer switch or timer. Check the manual for the exact product before connecting it.
What if my junction box has damaged or corroded wiring?
Do not proceed until the electrical installation has been inspected. Ring advises consulting a qualified electrician when wiring cannot be clearly identified or safely connected.
Conclusion
Knowing how to install Ring flood lights involves more than attaching a camera and turning on the breaker. The junction box, grounding, wiring, mounting position, weather sealing, and model-specific requirements all affect the finished installation.
For professional lighting manufacturers such as SEEKINGLED, the same principle applies: outdoor lighting performance starts with the installation environment. A well-designed fixture still needs the correct electrical connection, mounting method, environmental protection, and commissioning procedure to perform reliably in the field.
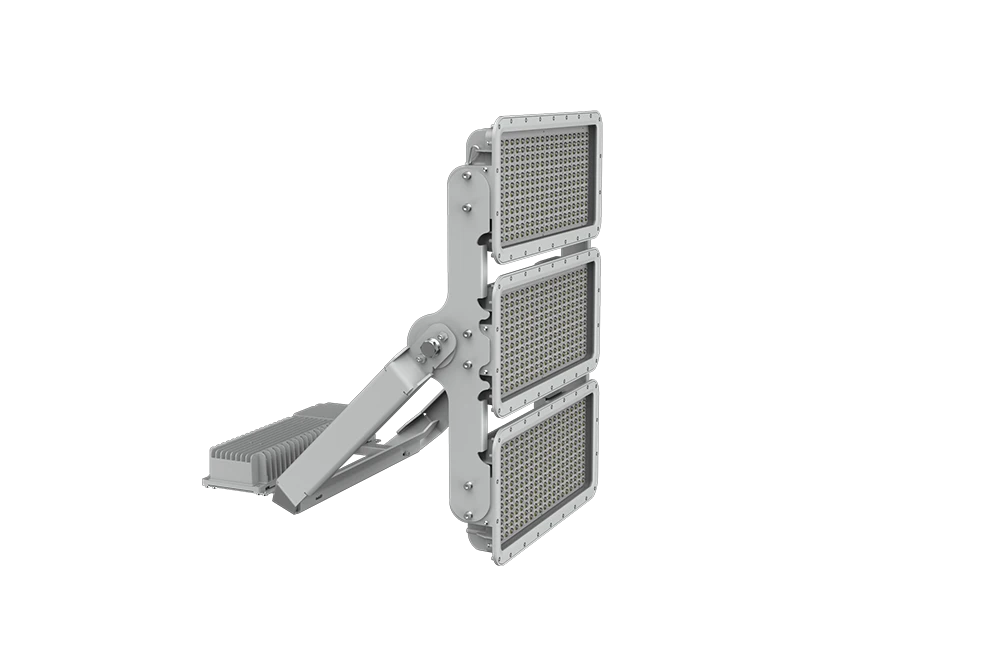
Sports Stadium LED Lighting by SEEKINGLED delivers high mast illumination, precise beam control, and EN 12193 compliant performance for professional venues.
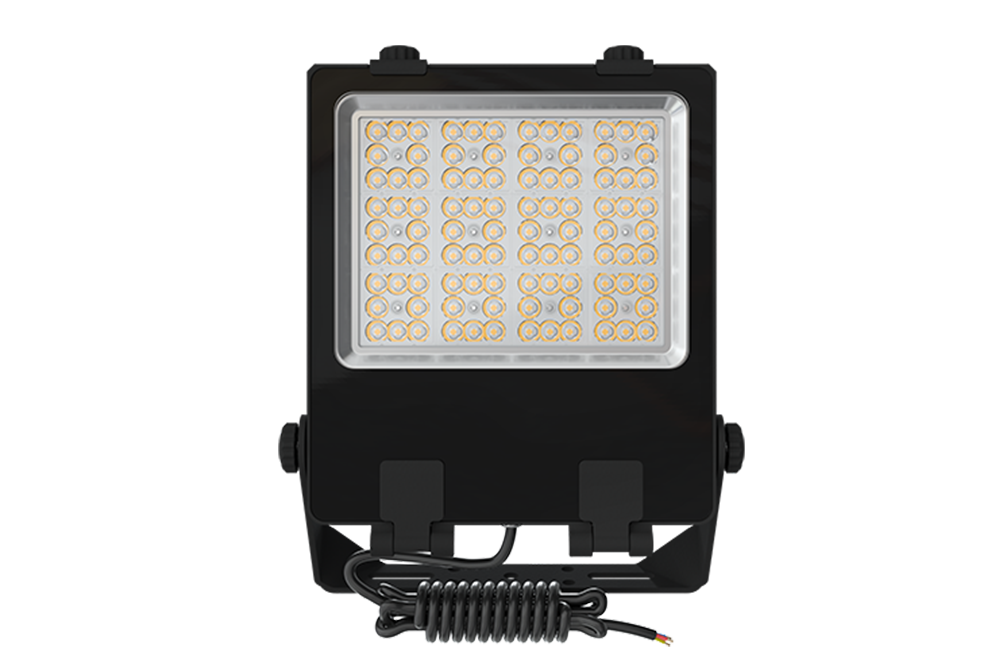
SEEKING FLX Series LED flood light outdoor for sports courts and open-area projects with 170lm/W efficiency, IP66 protection and multiple beam distributions. Designed for long-life commercial and public outdoor use.
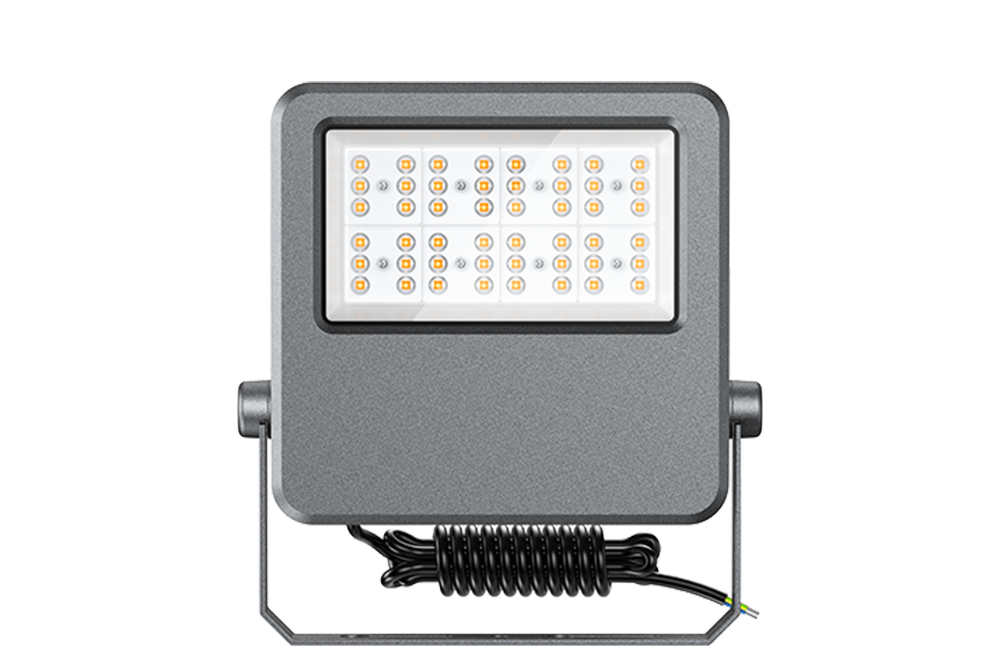
SEEKING FLE Series LED outdoor flood lights for sports grounds and open areas with multiple beam angles, IP66 protection and up to 170lm/W. Designed for long-life outdoor installations with professional driver options.
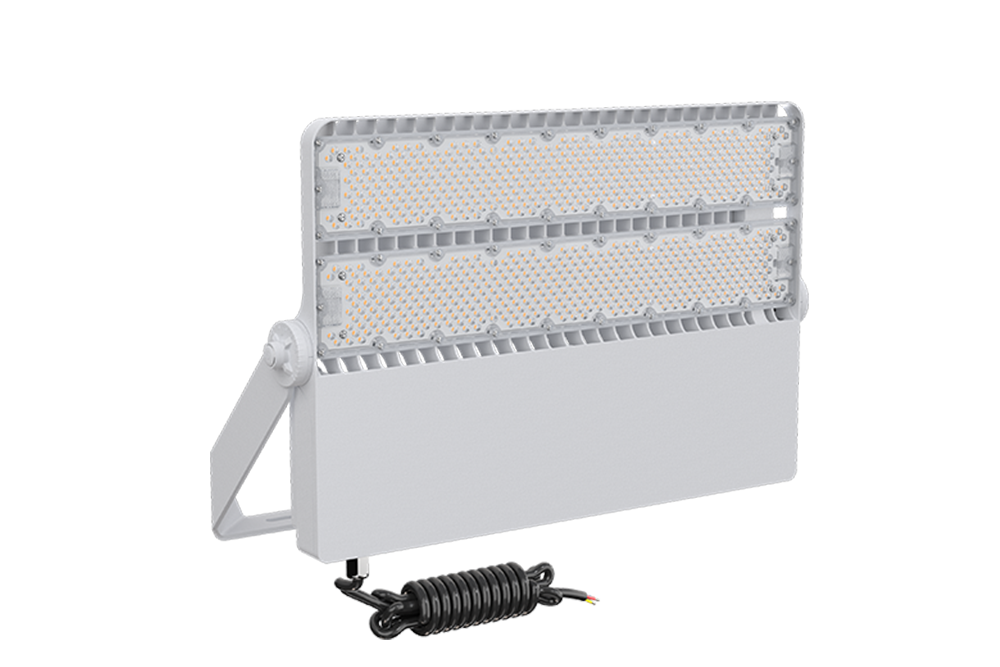
SEEKING FLD Series outdoor LED flood lights and high power led flood light deliver up to 960W with precision beam angles for sports fields, stadiums and large outdoor areas. IK08 & IP66 protection, 170lm/W efficiency and 100,000h lifetime.
LED High Bay Light installation at the National Theatre using SEEKINGLED HBS Series improves nighttime visibility, architectural presentation, and energy efficiency while preserving historic character.
atex light fittings provide certified illumination for explosive environments. Explore ATEX requirements, industrial applications, and expert insights from SEEKINGLED.
200W High Bay LED Lights deliver powerful output, energy savings, and long lifespan. Discover how to choose reliable industrial lighting for real-world performance.
explosion proof lighting led engineered for Zone 1 & 2 hazardous areas. ATEX & IECEx certified, energy-efficient and built for oil, gas and chemical safety.
 Seeking LED