 Seeking LED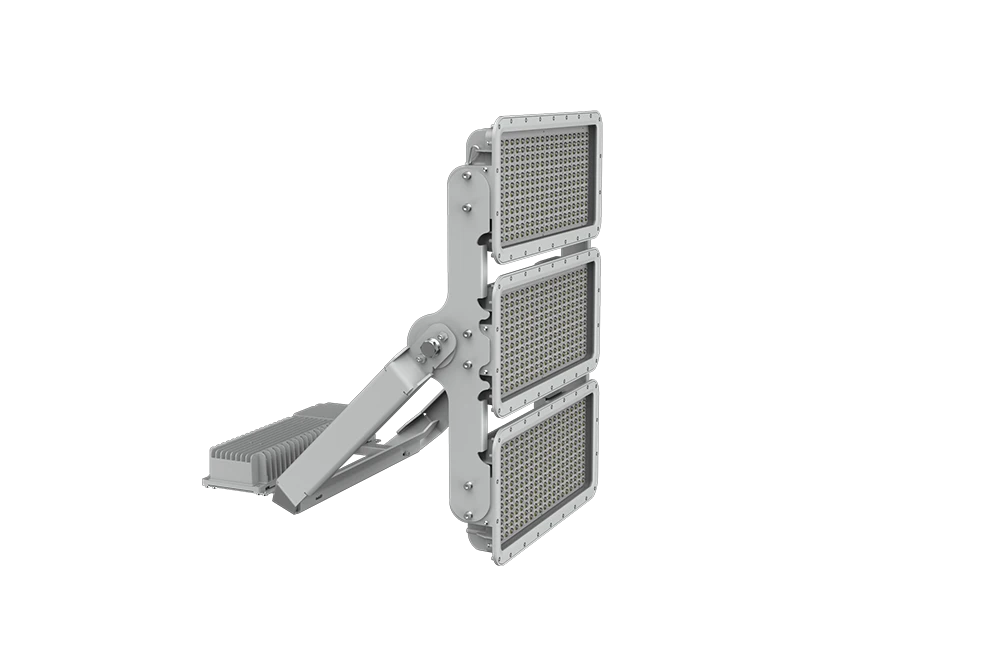
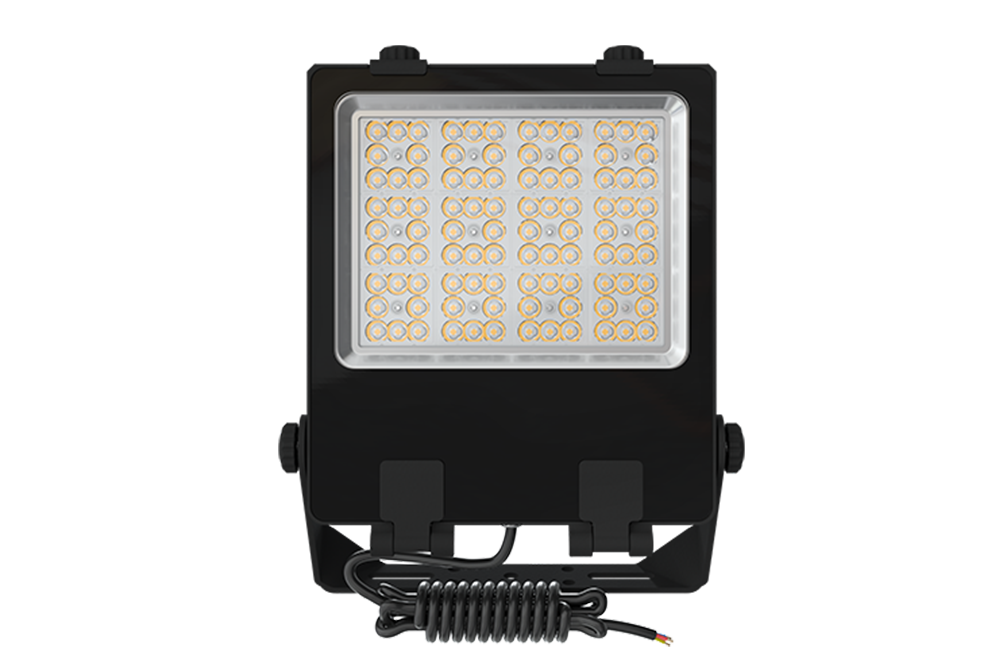
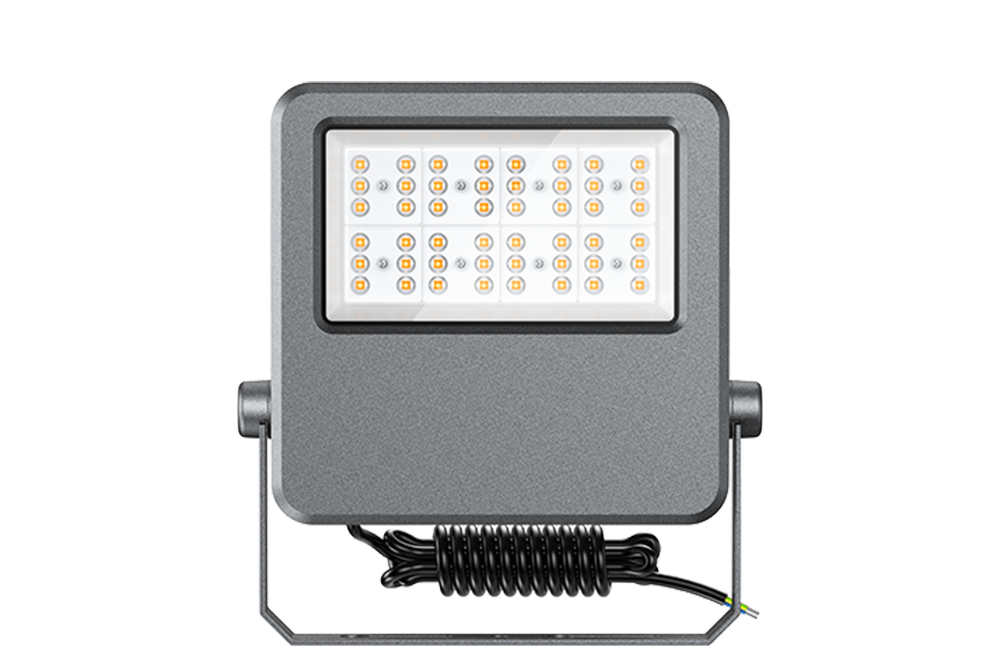
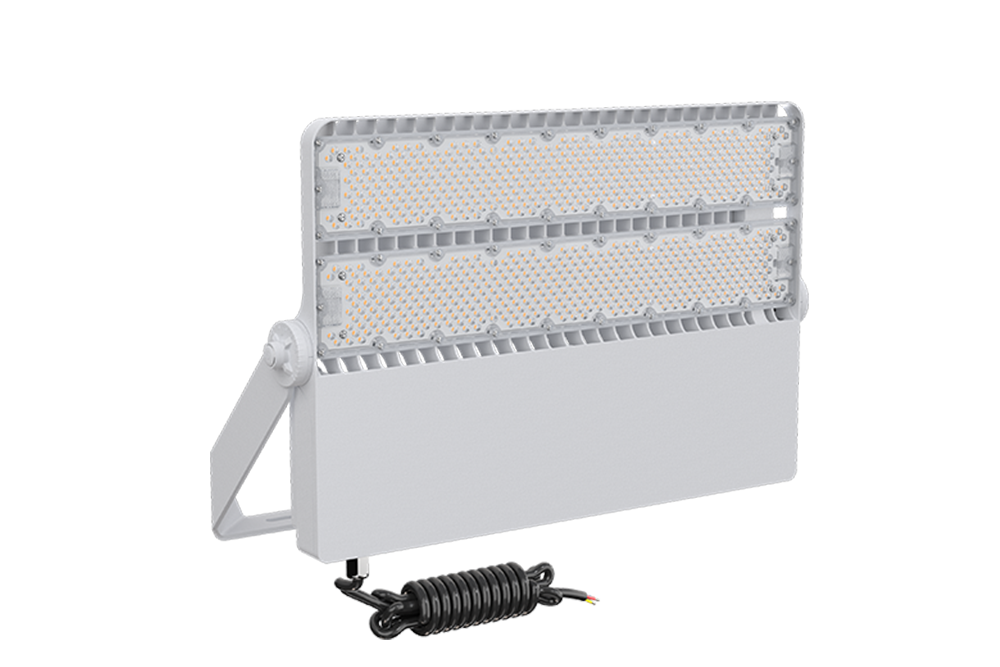
what is flood light?
0A flood light is an aimable, weather-resistant fixture designed to project a controlled, relatively broad beam across an indoor or outdoor area.
View detailsSearch the whole station
how to install a outdoor flood light starts with checking the power supply, mounting surface, fixture rating, and lighting direction. Turn off and verify the circuit, securely mount the bracket, connect the live, neutral, and ground conductors, seal the cable entry, then aim and test the fixture after installation.
Before drilling a single hole, check the site.
An outdoor flood light has to deal with rain, wind, temperature changes, vibration, and sometimes salt or dust. A good fixture can still have problems if it is installed on a weak surface or if water reaches the electrical connection.
SEEKINGLED‘s own outdoor installation guidance recommends checking the power supply, mounting surface, IP rating, beam angle, and coverage area before installation. Its FLD Series, for example, supports 100–277V AC, offers 15°, 30°, 60°, 90°, and P50 beam options, and is specified up to IP66 and IK08.
Before starting, check:
The mounting surface deserves more attention than it usually gets. Concrete, steel, brick, and thin exterior cladding do not behave the same way under the weight and wind load of a large flood light.
Turn off the relevant circuit breaker before touching the wiring.
Do not treat the wall switch as the only isolation point. Verify that the circuit is de-energized using an appropriate tester.
SEEKINGLED’s FLD Series installation instructions explicitly state that power must be switched off before operation and that installation should be performed by a skilled electrician familiar with LED luminaire installation requirements.
OSHA‘s electrical requirements also address conductor identification, polarity, grounding, and overcurrent protection. Its rules require the grounding path for applicable circuits and equipment to be permanent and continuous.
Hold the fixture in its intended position before drilling.
Check that:
For a wall-mounted flood light, the aim is usually slightly downward rather than horizontally into the distance. That small change can make a noticeable difference to glare.
SEEKINGLED’s installation guide notes that installers commonly adjust the fixture angle after mounting rather than locking the final position before the nighttime test.
Mark the fixing points, drill the appropriate holes, and install suitable expansion anchors or fasteners for the substrate.
SEEKINGLED’s FLD Series instructions specify drilling holes for expansion screws, fixing the lamp, and tightening the nuts before final aiming.
Do not use a heavy industrial flood light on thin sheet metal simply because the screws fit.
The structure needs to hold the fixture through wind and vibration over years, not just during the installation afternoon.
Once the mechanical mounting is secure, connect the fixture according to its product wiring instructions.
For the SEEKINGLED FLD Series:
| Conductor | Marking | Typical color |
|---|---|---|
| Live | L | Brown |
| Neutral | N | Blue |
| Earth | E | Green/Yellow |
The manufacturer’s FLD specification identifies Brown as L, Blue as N, and Green/Yellow as E. It also specifies a user-provided junction box and wiring terminal.
Never assume colors are universal on an existing installation. Verify the conductor function and follow the applicable local electrical code.
For fixed mains-voltage outdoor lighting, qualified electrical installation is the appropriate approach.
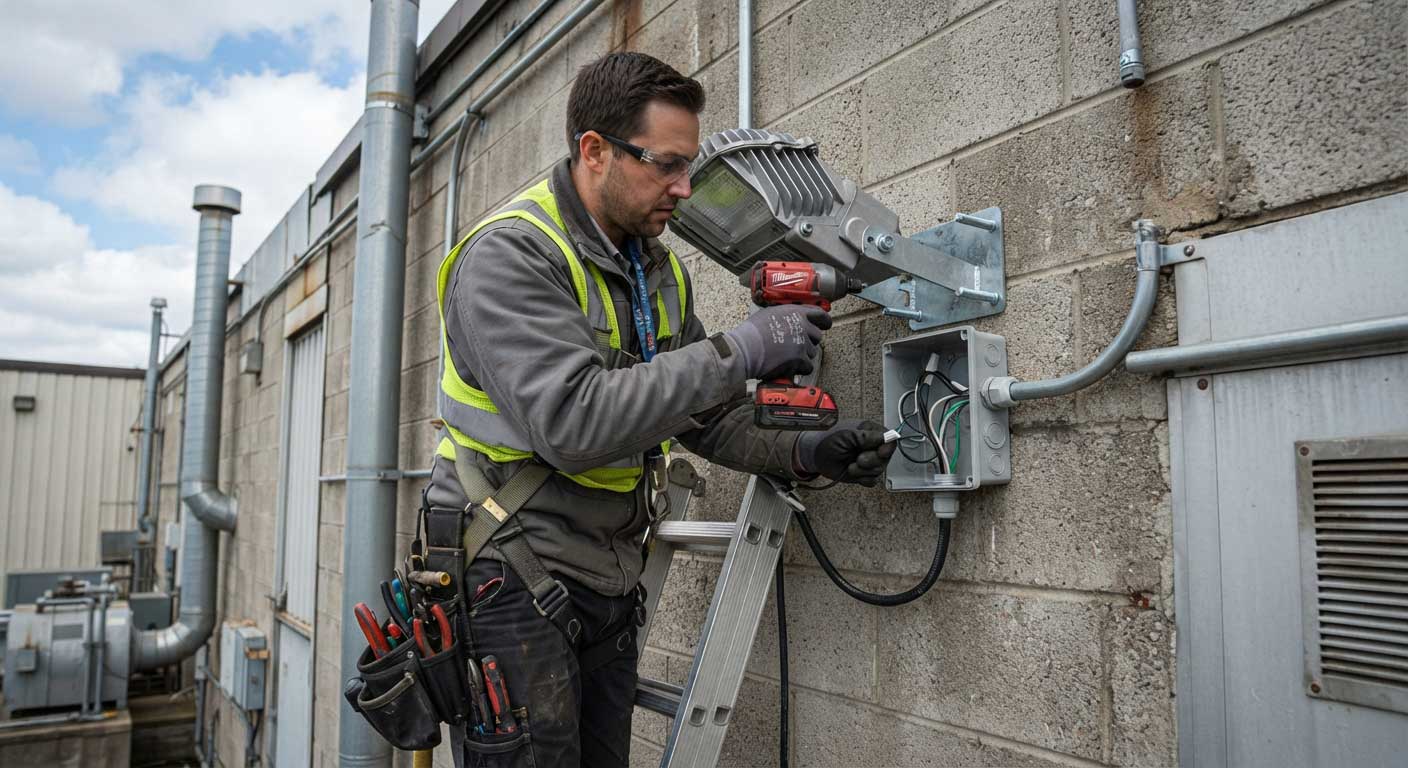
The fixture’s IP rating does not automatically make every part of the installation waterproof.
This is a common point of failure.
A flood light may have IP65 or IP66 protection, while the junction box beside it has an improperly sealed cable entry. Rain follows the cable, moisture reaches the terminals, and the problem may not appear until weeks or months later.
SEEKINGLED specifies IP66 and IK08 for its FLD Series and provides an installation arrangement using a junction box and wiring terminal.
Pay attention to:
OSHA also requires applicable outdoor electrical equipment and grounding systems to meet specific electrical protection requirements.
If the cable enters a box from above, water can travel along the cable toward the connection.
Where the installation method permits, cable routing should be arranged so water cannot simply run toward an electrical entry point. The enclosure, gland, and connection system should be selected for the actual outdoor environment.
Do not finalize the angle while standing on the ladder in daylight and assume the job is finished.
Turn the fixture on after dark and look at the actual illuminated area.
SEEKINGLED’s FLD installation instructions specifically include loosening the adjustment bolt, setting the irradiation angle, tightening the bolt, and replacing the bolt cap.
The practical sequence is:
This is where experienced installers often save more time than by rushing the mechanical installation.
There is no universal installation height.
SEEKINGLED’s outdoor installation guidance gives approximate project ranges of 3–6 m for façades, 6–12 m for parking areas, and 12 m or higher for large yards or ports, while emphasizing that beam angle and lumen output affect the final decision.
| Application | Approximate starting range |
|---|---|
| Entrance / small façade | 3–5 m |
| Building façade | 3–6 m |
| Parking area | 6–12 m |
| Large yard | 12 m+ |
| High-mast application | Project-specific |
These are starting points, not code requirements.
A narrow 15° beam and a wide 90° beam behave very differently at the same mounting height. SEEKINGLED’s FLD Series offers multiple beam distributions specifically for different area-lighting requirements.
The first test should not be limited to asking, “Does it turn on?”
Check:
For large installations, compare the actual lighting result with the planned photometric layout rather than judging brightness from directly underneath the fixture.
SEEKINGLED’s FLD Series is rated at up to 170 lm/W, with a stated L80B20 life exceeding 100,000 hours at 25°C. Those product specifications describe the luminaire’s tested design performance; they do not eliminate the need for correct installation, thermal conditions, and electrical protection.
| Mistake | What can happen |
|---|---|
| Mounting on weak material | Vibration or fixture movement |
| Loose cable gland | Moisture ingress |
| No proper grounding | Increased electrical safety risk |
| Wrong beam angle | Poor coverage |
| Aiming too high | Glare and light spill |
| Aiming too low | Small bright area with poor coverage |
| Over-tightening hardware | Mechanical or housing damage |
| Skipping nighttime testing | Problems remain unnoticed |
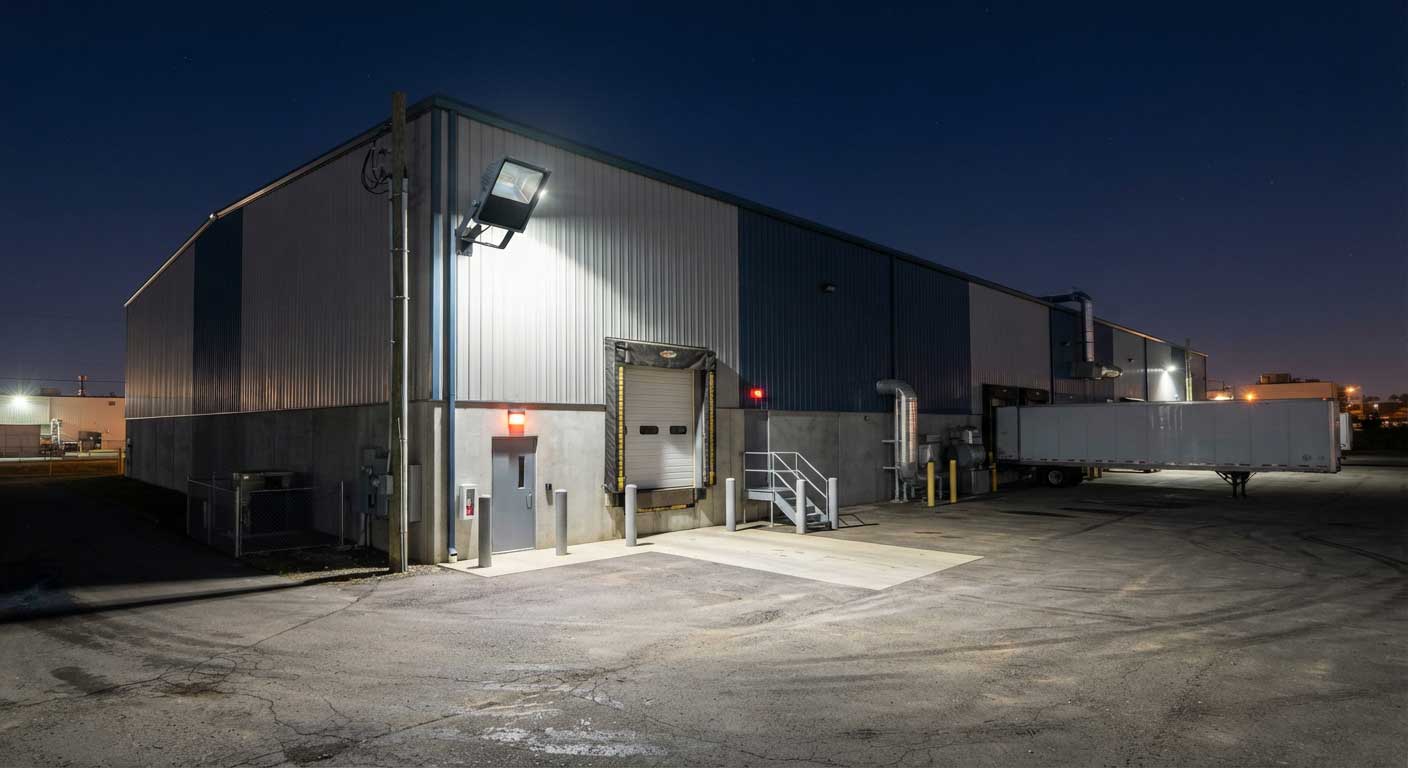
One detail from field installation is worth emphasizing: a flood light that is technically mounted correctly can still be badly installed from a lighting-design perspective.
If the beam lands on the road instead of the loading zone, the fixture is doing its job electrically but failing its job optically.
Mains-voltage outdoor lighting should be installed by a qualified electrician or in accordance with applicable local regulations. SEEKINGLED’s FLD instructions specifically require installation by a skilled electrician.
A typical three-wire connection uses live, neutral, and protective earth. On the SEEKINGLED FLD Series, these are identified as brown L, blue N, and green/yellow E.
The required IP rating depends on the exposure and installation environment. Outdoor fixtures commonly use weather-resistant designs such as IP65 or higher. SEEKINGLED’s FLD Series is specified at IP66.
There is no universal spacing. Mounting height, beam angle, lumen output, target illuminance, and required uniformity all affect spacing. A photometric layout is preferable for commercial projects.
In many wall and area-lighting applications, a slight downward aim helps direct light toward the intended surface and can reduce glare. The final angle should be established from the actual site conditions.
Yes. Many flood lights use adjustable brackets for wall mounting. The wall must be strong enough for the fixture and its environmental loads, and the mounting hardware must be appropriate for the substrate.
Common causes include poorly sealed cable glands, damaged gaskets, incorrectly closed junction boxes, unsuitable cable entries, or installation that allows water to reach the electrical connection. The fixture’s IP rating cannot compensate for poor installation.
how to install a outdoor flood light correctly means treating the fixture, wiring, mounting surface, weather protection, and beam direction as one installation rather than separate tasks. Secure the structure first, make the electrical connection correctly, seal the cable entry, then return after dark and adjust the beam. That final adjustment is often what separates a working light from a good lighting installation.
A flood light is an aimable, weather-resistant fixture designed to project a controlled, relatively broad beam across an indoor or outdoor area.
View details
What is an explosion-proof LED work light | SEEKINGLED
View details
Are led flood lights any good for outdoor lighting? Discover real-world performance, energy savings, and installation insights from field experience with SEEKINGLED systems.
View details
What is LED explosion proof lighting? This guide explains how explosion-proof LED lighting works, where it is used, and why certified systems are critical for hazardous environments.
View details