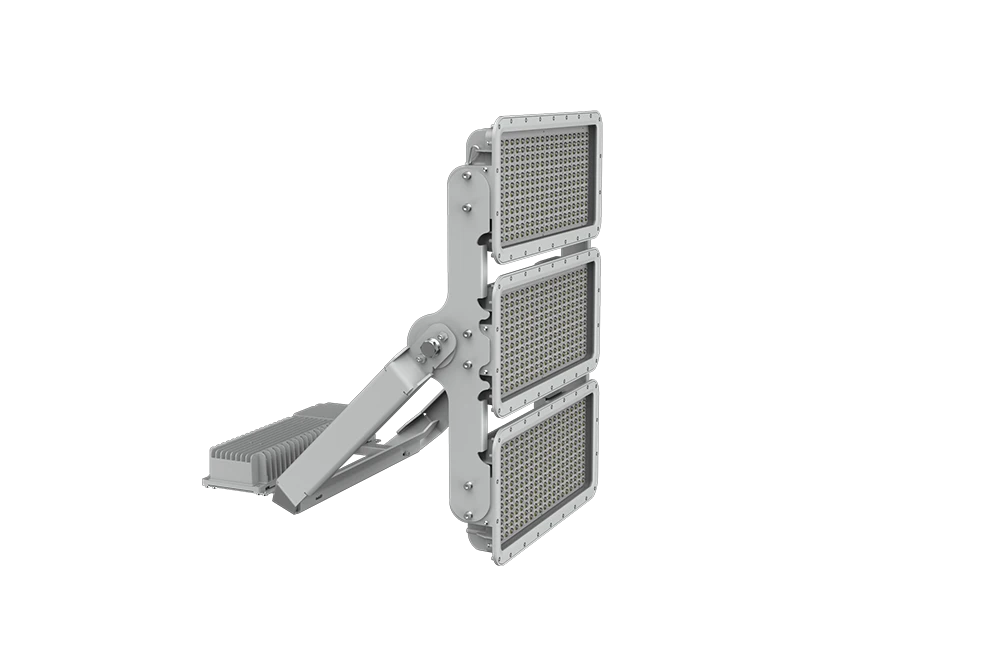
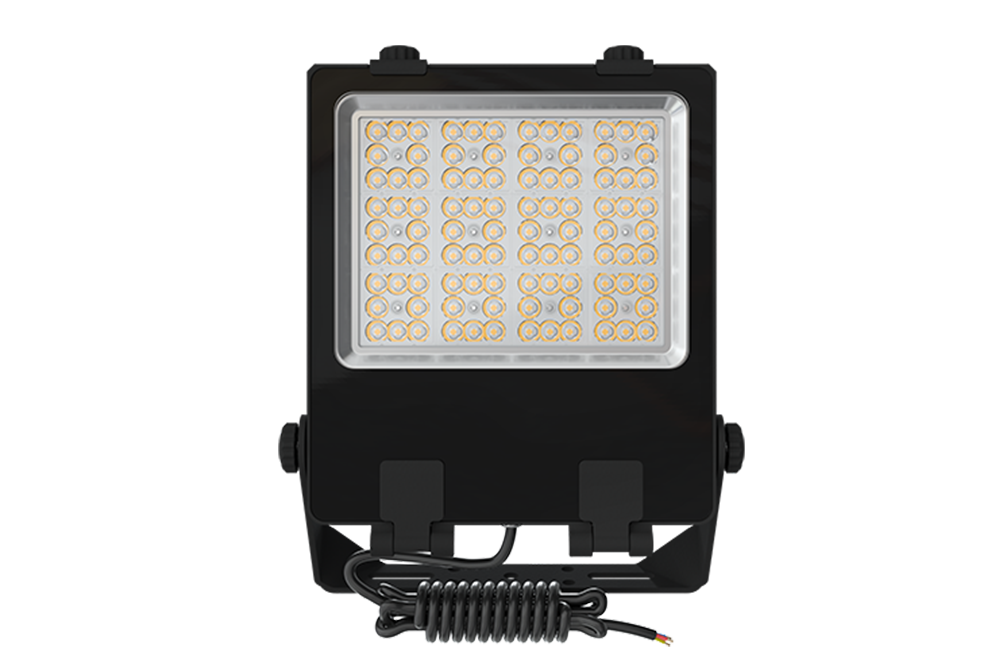
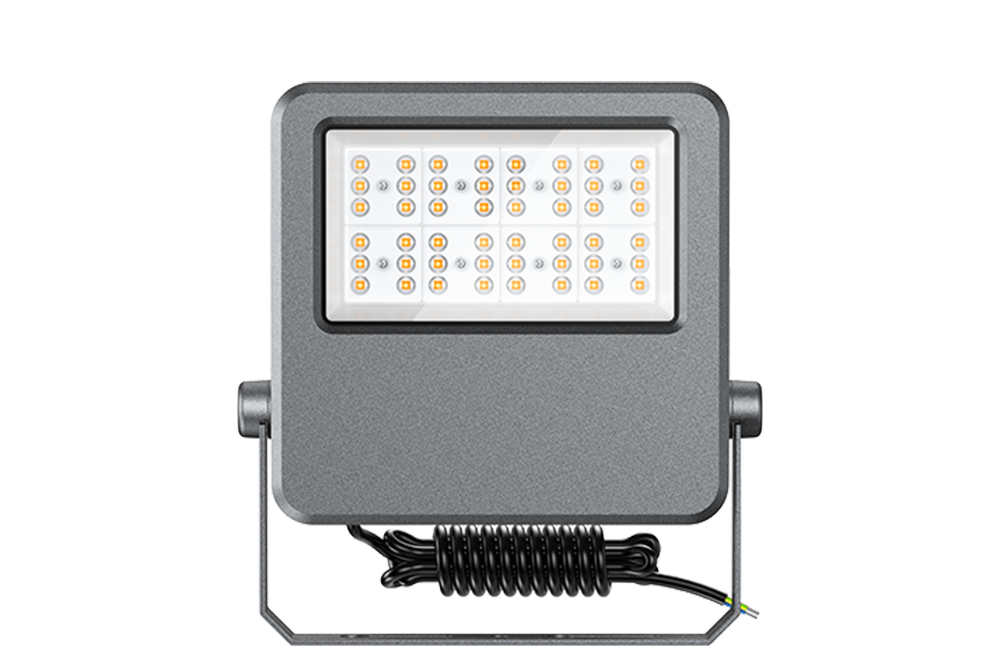
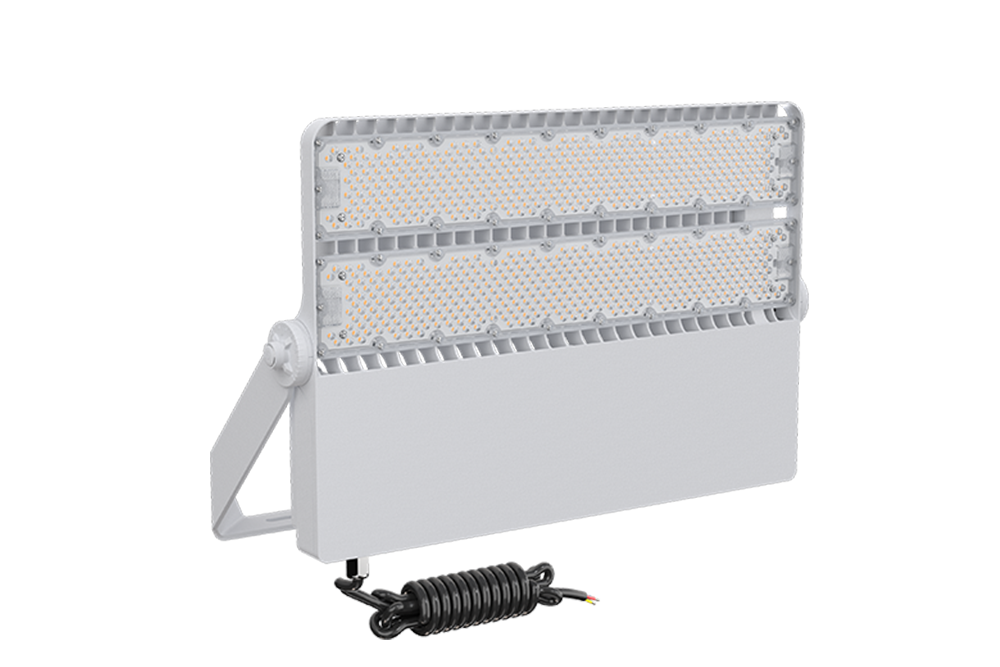
To install new outdoor flood lights, switch off and verify the circuit, confirm the fixture voltage, secure the mounting bracket to a solid structure, connect live, neutral, and ground conductors in a protected enclosure, then aim and test the light after dark. Proper mounting and beam control are as important as the electrical connection.
What should you check before installing new outdoor flood lights?
Installing a new flood light is not simply replacing one fixture with another. The new unit may have a different wattage, input voltage, mounting pattern, beam angle, or physical weight.
Before drilling the first hole, check:
Fixture input voltage and frequency
Existing circuit capacity and protection
Mounting surface and fastener type
Outdoor exposure to rain, dust, and moisture
IP rating specified by the manufacturer
Beam angle and target area
Cable entry and junction-box location
Required grounding arrangement
Local electrical requirements
The Illuminating Engineering Society defines a floodlight as a weatherproof, aimable projector. Its field angles can range from about 10° to more than 100°, which explains why two fixtures with similar wattage can produce very different coverage.
SEEKINGLED‘s own installation guidance starts with the same practical checks: power source, mounting surface, IP rating, and beam coverage. Its published examples include 120 V, 220 V, and 277 V systems, depending on the fixture.
Check the new fixture against the existing electrical system
Do not assume the old flood light’s wiring automatically suits the new one.
Read the product label first. Confirm the rated voltage, frequency, wattage, wiring configuration, and grounding requirements. For a commercial installation, also check whether the existing branch circuit has adequate capacity for the additional load.
This is particularly important when several new fixtures are being installed at once.
How to install new outdoor flood lights step by step
1. Turn off the power and verify it
Switch off the appropriate circuit breaker before opening the existing fixture or junction box.
Then verify that the circuit is de-energized with an appropriate electrical tester. Do not rely only on the wall switch.
OSHA‘s electrical requirements address conductor identification, polarity, grounding, and overcurrent protection. Its guidance also states that the grounding path must be permanent and continuous.
For permanent mains-voltage work, a qualified electrician should handle the electrical connection where required by local regulations.
2. Remove the old fixture and inspect the mounting point
If you are replacing an existing flood light, don’t immediately reuse its screws.
Remove the old fixture and inspect what is underneath it.
Look for:
Corroded fasteners
Cracked masonry
Loose wall anchors
Damaged cable insulation
Water marks around the cable entry
Deteriorated junction boxes
Rust around the mounting plate
This is one of those jobs where five extra minutes can prevent a much larger repair later.
A new LED flood light may be lighter than an older HID fixture, but the mounting surface still has to withstand wind, vibration, and the fixture’s operating environment.
3. Install the new mounting bracket
Position the bracket against a structurally sound surface and mark the fixing points.
For masonry or concrete, use anchors suitable for the substrate. For steel structures, select fasteners appropriate for the thickness and mechanical loading. Avoid relying on thin cladding as the primary structural support.
SEEKINGLED’s published FLD Series installation procedure specifies drilling for expansion screws, securing the fixture, tightening the nuts, and then adjusting the irradiation angle.
Do not fully commit to the final aiming position yet. Leave the adjustment mechanism available until nighttime testing.
4. Connect the new outdoor flood light
Typical three-conductor arrangements use:
Function
Common conductor identification
Live
Brown or black
Neutral
Blue or white
Ground / Earth
Green-yellow
These colors are common conventions, not permission to wire by color alone. Always follow the fixture’s wiring diagram and applicable local electrical code.
SEEKINGLED’s FLD Series documentation identifies brown as L, blue as N, and green-yellow as E. The manufacturer specifies connection through a suitable junction box or wiring terminal.
Keep the connection protected from rain and moisture. Cable glands should be properly seated and tightened, and unused cable openings should be sealed.
5. Mount the fixture and protect the cable entry
Once the wiring is secure, attach the new flood light to the bracket.
Check that:
Mounting bolts are fully tightened
The fixture does not wobble
Cable entry is protected
The junction box remains properly closed
No cable is pinched beneath the bracket
The fixture can still be adjusted
Outdoor electrical connections deserve particular attention because moisture can enter through a surprisingly small opening.
OSHA’s grounding guidance emphasizes continuous grounding paths and grounding of applicable exposed metal parts, particularly in wet or damp conditions.
How to aim new outdoor flood lights correctly
This is where a replacement installation can go wrong even when the wiring is perfect.
A floodlight is designed to project a controlled beam onto a surface. ANSI/IES RP-8-22 notes that floodlighting is useful for projecting light over long distances or illuminating irregular surfaces, but also warns that conventional roadway applications can create more glare than appropriate roadway luminaires.
For the first adjustment, point the fixture toward the center of the intended area rather than toward the horizon.
Then wait until darkness.
Check the actual scene from the pedestrian, driver, or worker viewpoint. Look for:
Bright spots directly in the eyes
Dark areas behind objects
Light entering neighboring windows
Excessive upward spill
Poor coverage at the edges
Reflections from vehicles or wet pavement
A fixture that looks correctly aimed at 3 p.m. can look completely wrong at 9 p.m.
What height should new outdoor flood lights be installed?
There is no universal mounting height because the correct height depends on beam angle, fixture output, target size, and the surrounding environment.
SEEKINGLED’s published guidance gives practical starting ranges such as:
Application
Starting mounting range
Entrance
3–4 m
Building façade
3–6 m
Parking area
6–12 m
Large yard / industrial site
12 m+
These are not design requirements. A narrow beam at 6 m can behave very differently from a wide beam at the same height.
Common mistakes when installing new outdoor flood lights
The most common problems are not usually dramatic electrical failures. They are small installation decisions that become obvious after the first rainy night.
Avoid:
Reusing deteriorated anchors
Choosing the fixture only by wattage
Ignoring the new fixture’s voltage
Leaving cable entries poorly sealed
Skipping the grounding connection
Mounting onto weak cladding
Tightening the bracket before aiming
Testing only during daylight
Pointing the beam toward traffic or windows
Assuming a wider beam automatically means better coverage
When replacing several old fixtures, compare the actual illuminated area rather than comparing watt-for-watt. Modern LED optics can put light where it is needed without simply increasing electrical power.
FAQ about installing new outdoor flood lights
Can I replace an old flood light with a new LED flood light?
Yes, provided the new fixture is compatible with the electrical supply, mounting arrangement, environmental conditions, and applicable code requirements.
Do I need to replace the junction box when installing a new flood light?
Not always. Inspect the existing box first. Replace it if it is damaged, corroded, unsuitable for the environment, or incompatible with the new wiring arrangement.
What wires are used for a new outdoor flood light?
Many fixtures use live, neutral, and ground/earth conductors. The exact wiring must be confirmed from the manufacturer’s instructions rather than assumed from wire color.
Should new outdoor flood lights be tested at night?
Yes. Nighttime testing reveals beam coverage, glare, shadows, reflections, and unwanted spill that may be difficult to see during daylight.
What IP rating is suitable for new outdoor flood lights?
The appropriate rating depends on the installation environment. SEEKINGLED’s published outdoor installation guidance identifies IP65 or higher as a standard outdoor starting point.
Can I install several new outdoor flood lights on one circuit?
Possibly, but the total connected load, circuit rating, conductor capacity, protection, voltage, and local electrical requirements must be evaluated. Do not determine suitability from wattage alone.
Why is my new outdoor flood light too bright in some areas?
The problem may be optical rather than electrical. Beam angle, mounting height, aiming direction, fixture spacing, and surrounding reflective surfaces all affect perceived brightness and uniformity.
Final answer
Knowing how to install new outdoor flood lights means looking beyond the physical replacement. The new fixture needs the right electrical supply, a sound mounting point, protected connections, continuous grounding where required, and careful nighttime aiming. In real installations, the final five-degree adjustment can matter more than another few watts of output.
Discover vintage explosion proof lighting, its industrial origins, safety standards, restoration challenges, and modern hazardous-area alternatives for demanding environments.
Explosion proof light fixtures LED for hazardous industries. Durable, certified, and energy-efficient lighting solutions by SEEKINGLED for safe operations.
What is ATEX Certification? Learn EU explosive atmosphere standards, zone classifications, legal requirements, and why ATEX compliance is essential for industrial safety and EU market access.
Outdoor LED street lights designed for roads and public areas, delivering high efficiency, durability, and long service life for real-world use by SEEKINGLED.
 Seeking LED